
Basically, we have a lot of stuff that I have tried to fit into small creative spaces. That being said, I have been wanting to condense even more and really pair down to things we use and need as opposed to things we have not looked at in years and think we might need one day.
Meet our hall closet...

It is a measly 24 inches wide and 20 inches deep. It is a standard 7ft tall door, but it is skinny, skinny and not very deep. It certainly was not maximized to the best potential see...

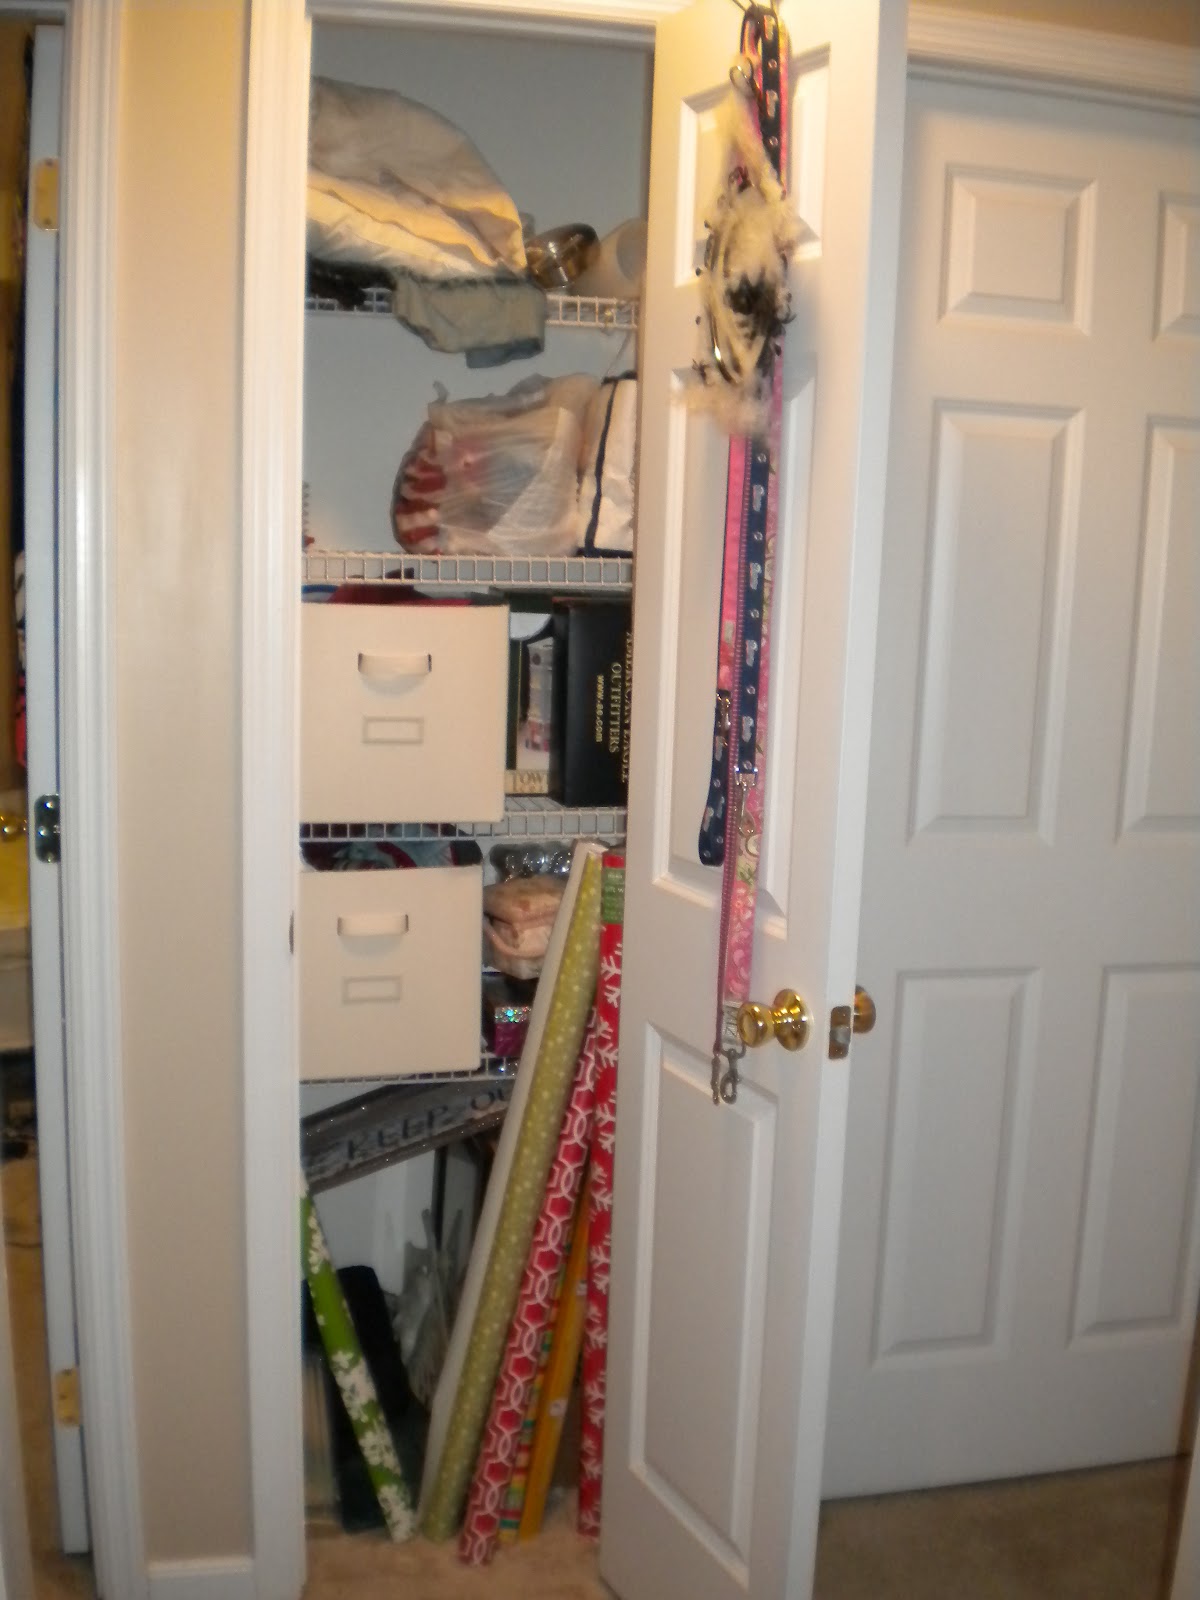


I hated getting in this closet. I almost always knocked over a roll of wrapping paper or got tangled in one of the four dog leashes we had hanging up (that we do not use...) while trying to get something. I was over it and decided to start my purging this with this closet. I immediately started sorting into piles. A keep pile, a donate pile, and a garbage pile.

I ended up with one garbage bag full to donate and one grocery size sack full of garbage. I was sort of on a roll and didn't get a picture of the completely empty closet...sorry. Next, I had to figure out what I was going to do with all of those rolls of wrapping paper. I had gotten several ideas from Pinterest and other blogs and decided that I would attach a basket to the door to hold everything. I had the perfect wooden box for the job. It has three sections and is pretty sturdy so I thought that it would hold the weight well. I started by drilling three holes in the back...


I couldn't get a picture while I was drilling the pilot holes in the door and attaching the box to the door, it was a little tricky...so tricky in fact that Matt had to help me! I was really trying to do everything myself this time, but I ended up needing a few extra hands in holding the box in place and screwing it to the door. I also could not get a picture of the wrapping paper falling all over the place because I was trying to hold them all together. I needed to attach something to the top to wrangle the tubes. Matt attached two hooks to the door and I tied a pretty ribbon across them...viola!


Here is a shot with the items that survived the purge. I used boxes and baskets that I had on hand. They all ended up white for the most part which was freaky and unplanned! It works though. On the top shelf is a basket of yarn, string and ribbon. The large two white boxes have an assortment of table cloths, runners, and placemats along with fabric remnants for future craft projects. The second shelf also holds extra tea-light candles, and my sewing kit.

So there is my first step in organzing and purging all our unwanted/not needed items. What about you? Any deep cleaning or organzing going on this weekend? Happy Friday!
No comments:
Post a Comment
If you enjoyed this post, please leave a comment or join this site for even more DIY and home related posts!